Photo Guide
How to print a consulate photo
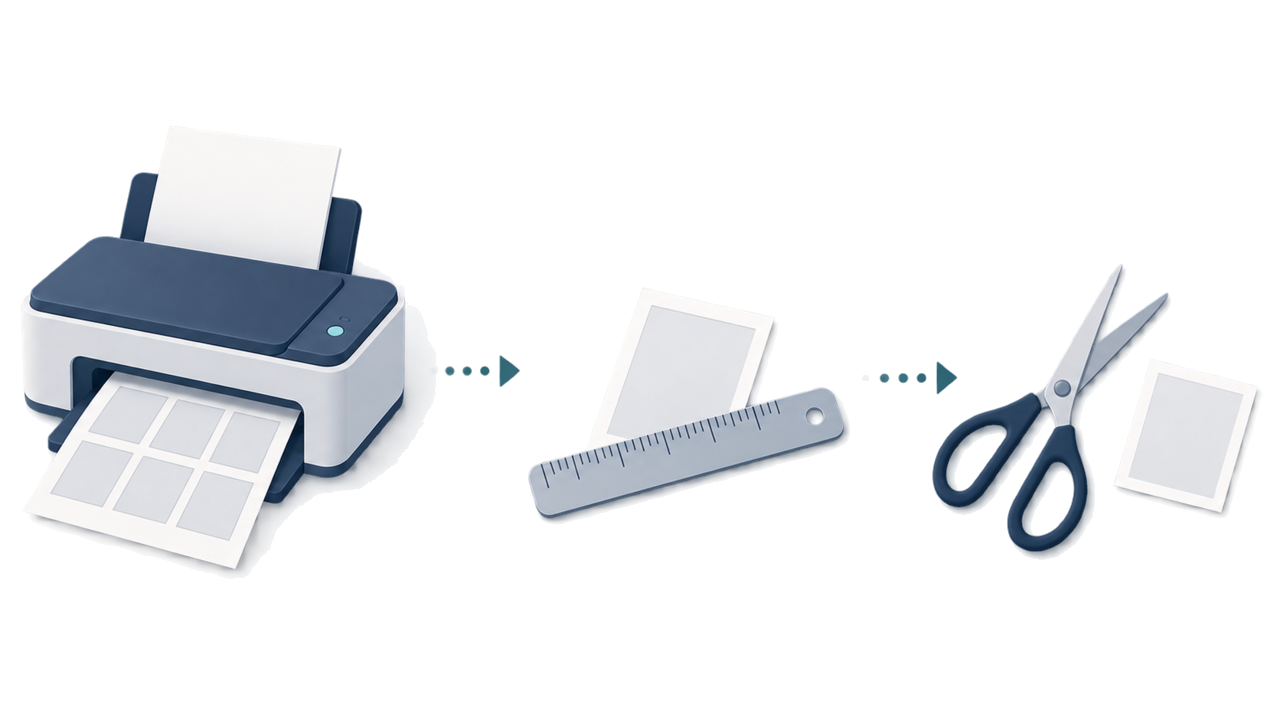
A practical print workflow: choose the post-specific size, print at actual size, measure the result, and cut only after the physical check.
Checked: 2026-08-20
At a glance
- Start with the photo size for the actual embassy or consulate post.
- Print at actual size with automatic fit-to-page scaling disabled.
- Measure the physical print before cutting it out.
-
Select the destination post size
Confirm the embassy or consulate post first. Use its current printed-photo instruction as the source for the physical frame.
-
Print at actual size
Use an actual-size print setting and turn off automatic fit-to-page or similar scaling. The print method is a practical choice; the post instruction controls the target size.
-
Measure the physical result
Use a ruler to check the printed photo itself. Do not rely only on the preview because printer settings can change the physical result.
-
Cut after checking
Cut along the measured frame only after the print has been checked. Keep the photo clean and avoid bending or damaging it.
Create your photo in the browser
Prepare the photo for Brazil Visa (consular application) directly in your smartphone or computer browser. Creating and reviewing are free.
The photo specification this tool creates depends on your destination country and application route. Select your route in the tool.
Open the web toolAlso available as an iPhone appOpen the App Store
FAQ
Does the eVisa route need this printed-photo workflow?
No. eVisa is an upload route. This workflow is for a consular route that asks for a printed photo.
Should I use fit-to-page when printing?
No. Use an actual-size setting and disable automatic scaling so the physical photo can match the selected post instruction.
Can a print shop or home printer be used?
Either works. The official source does not restrict printing to one method, so pick a way that reproduces the post-specific size, then measure the physical print.
Official sources
- Brazil eVisa VFS Global - Photo Sample / photo upload specification Checked: 2026-08-20
- Brazil eVisa VFS Global - パスポート情報ページ仕様 Checked: 2026-08-20
- Brazil MRE — Electronic Visitor Visa / eVisa Checked: 2026-08-12
- Consulate General of Brazil in Tokyo - Visa photo Checked: 2026-07