
Application photos in your browser
Capture, review, and savethe files you need
Prepare a passport, visa, or other application photo in your phone or computer browser. Choose a purpose and the tool shows the files and price for that procedure.
Editing and review are free. The price for your selected purpose appears only when you save the finished files.
The complete flow
- Choose a purpose
- Capture or upload
- Adjust and review
- Pay when saving
- Save the finished files
What to prepare
Having these items ready makes the process easier to follow.
- A phone or computer Use the camera or load a saved photo.
- A photo of the applicant Prepare a front-facing photo with the face and shoulders visible.
- An additional document, if shown Prepare it only when the selected purpose asks for it.
JPEG / PNG is recommended. HEIC may not load in every device or browser.
Capture, adjust, and save
Only the screens needed for the selected purpose are shown. Start with the actual interface to see how the flow works.
-
STEP 1
Choose a purpose
Select the procedure that will use the photo, such as a Japanese passport, My Number Card, qualification exam, or visa. Search by procedure name to narrow the list.
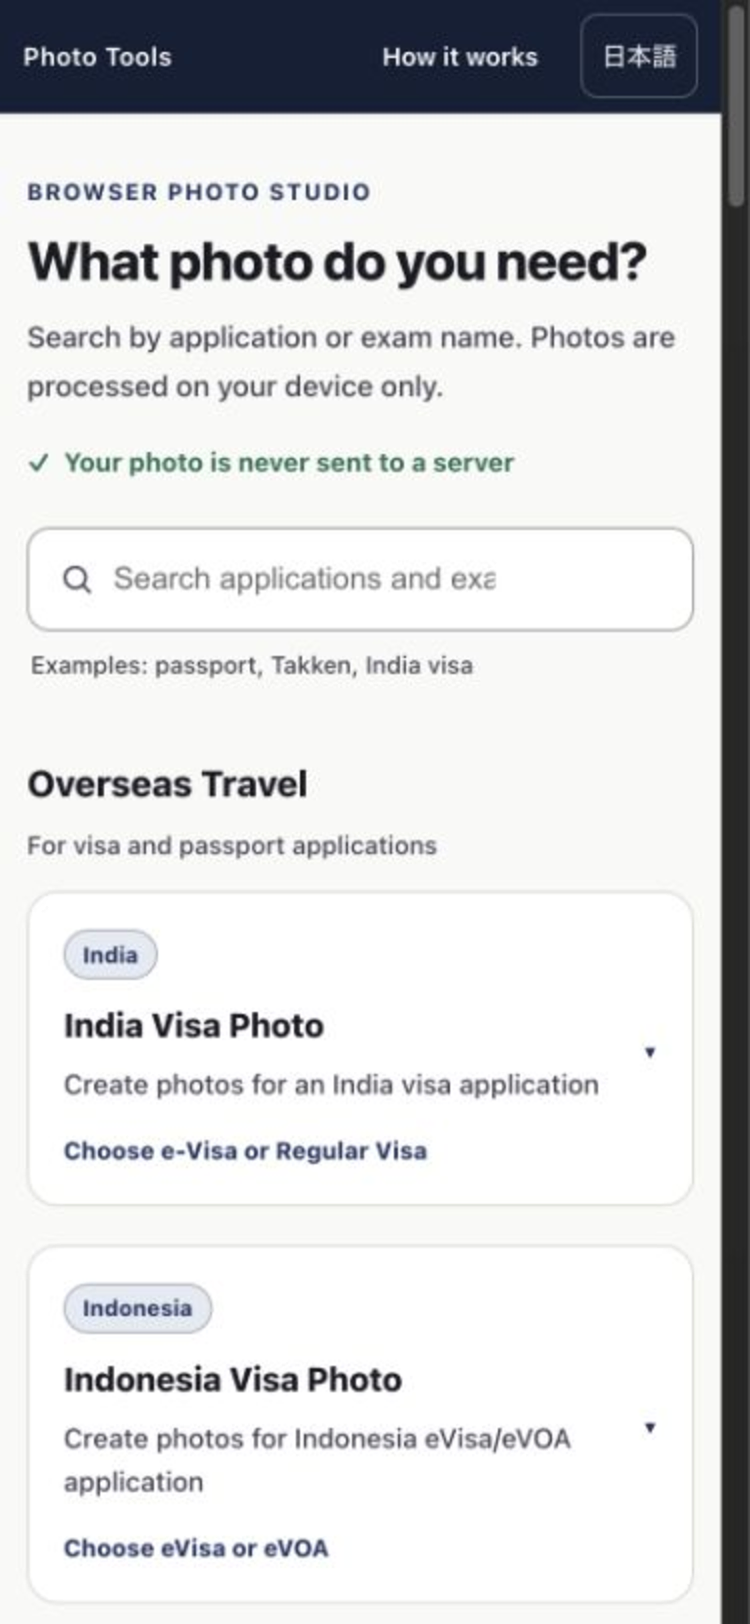
Actual screen: choose what you are making a photo for -
STEP 2
Capture or upload a photo
On a phone, use the camera. On a computer or with a saved photo, choose an image file. Before capturing, leave a little space around the head and shoulders so the editor has room to position the image.
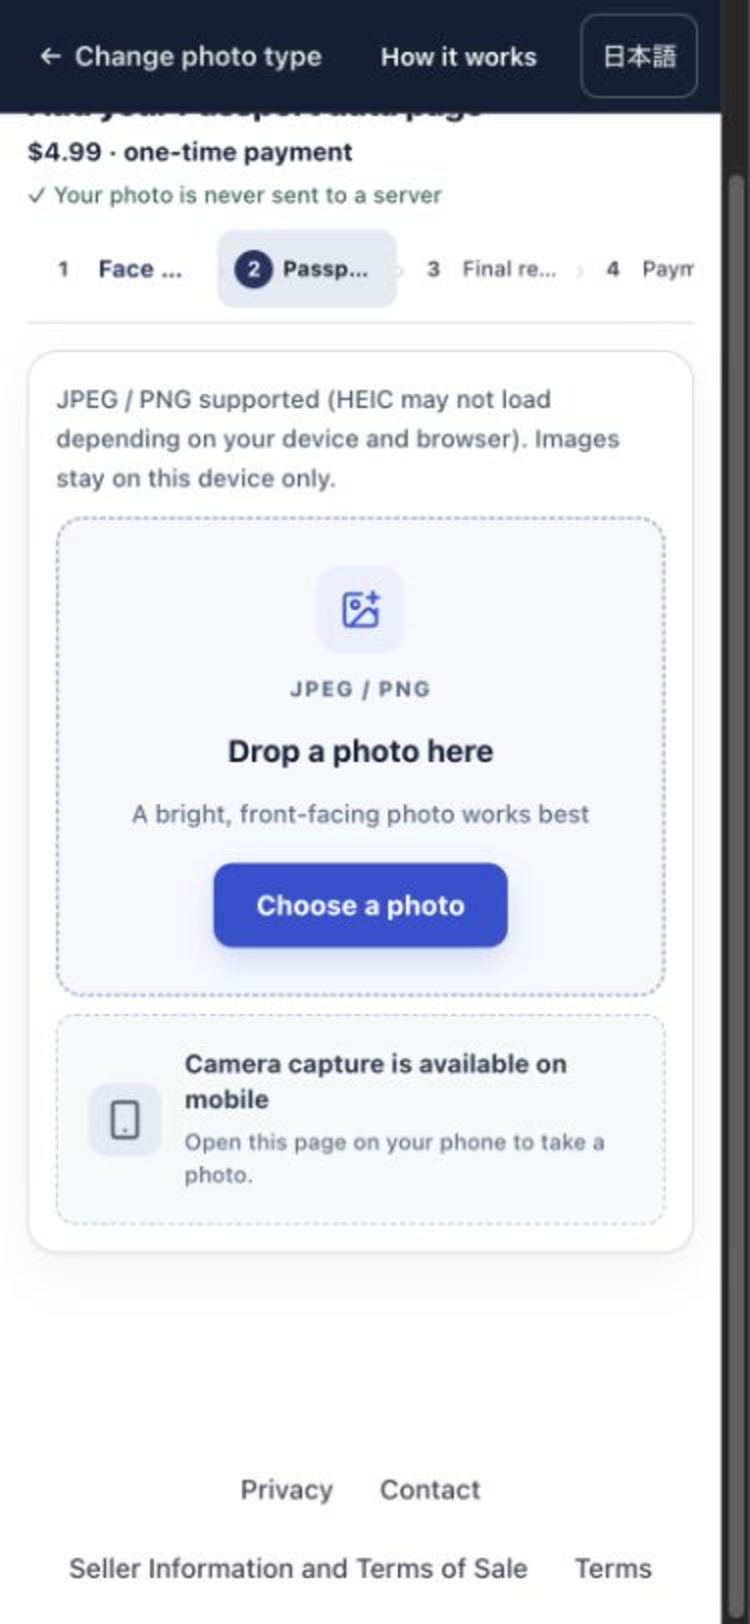
Actual screen: take or import a photo -
STEP 3
Adjust the photo
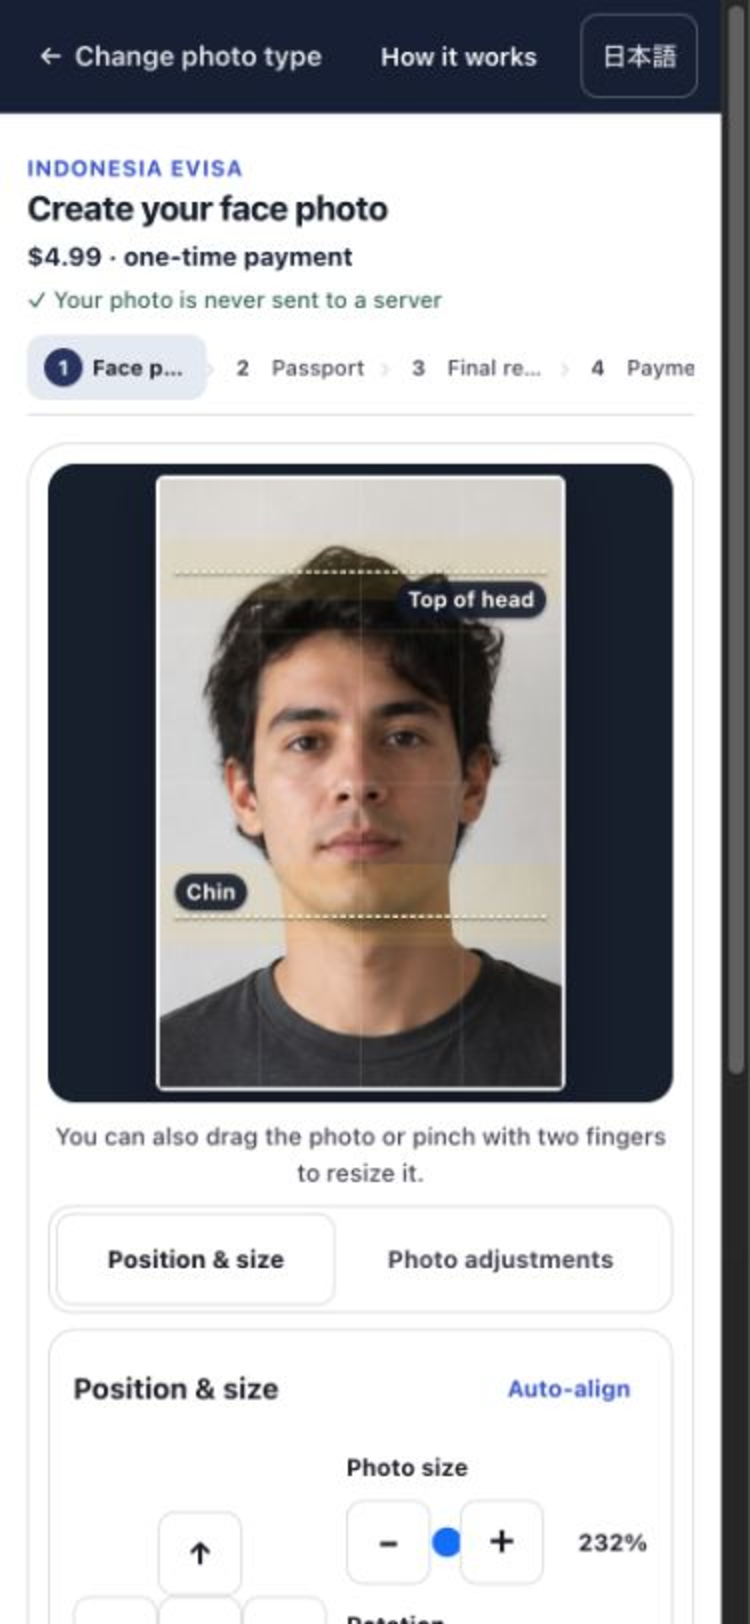
The tool can adjust the face position automatically. You can then drag, pinch, or rotate the image when needed. The on-screen guide is an editing aid, not a guarantee of acceptance.
Actual screen: adjust the captured face photo -
STEP 4
Review and save the finished files
Review the face photo and any additional document together, then continue to save to see the price. After payment, save the JPEG, PDF, or print-ready files for the selected purpose.
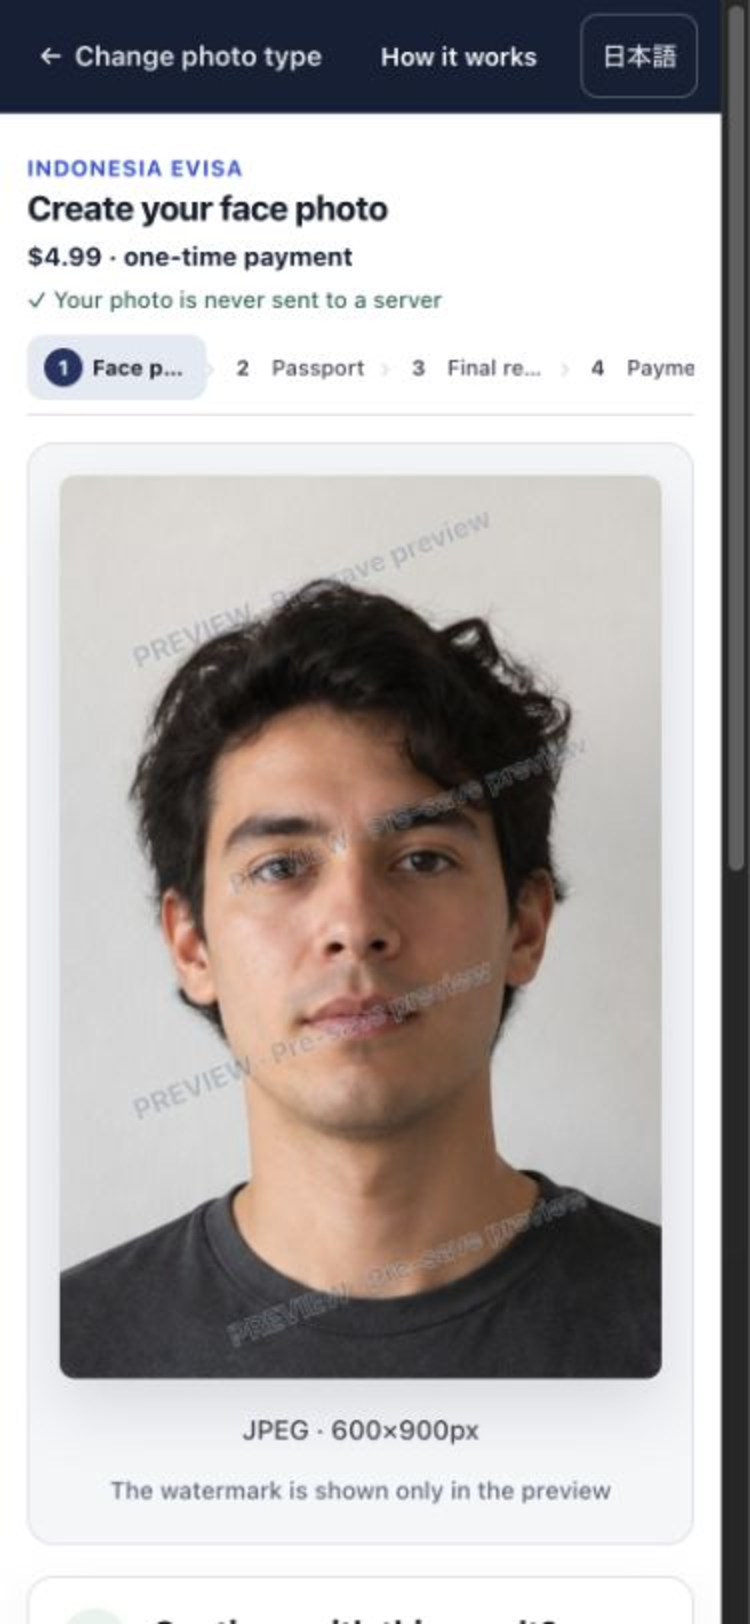
Review the finished files 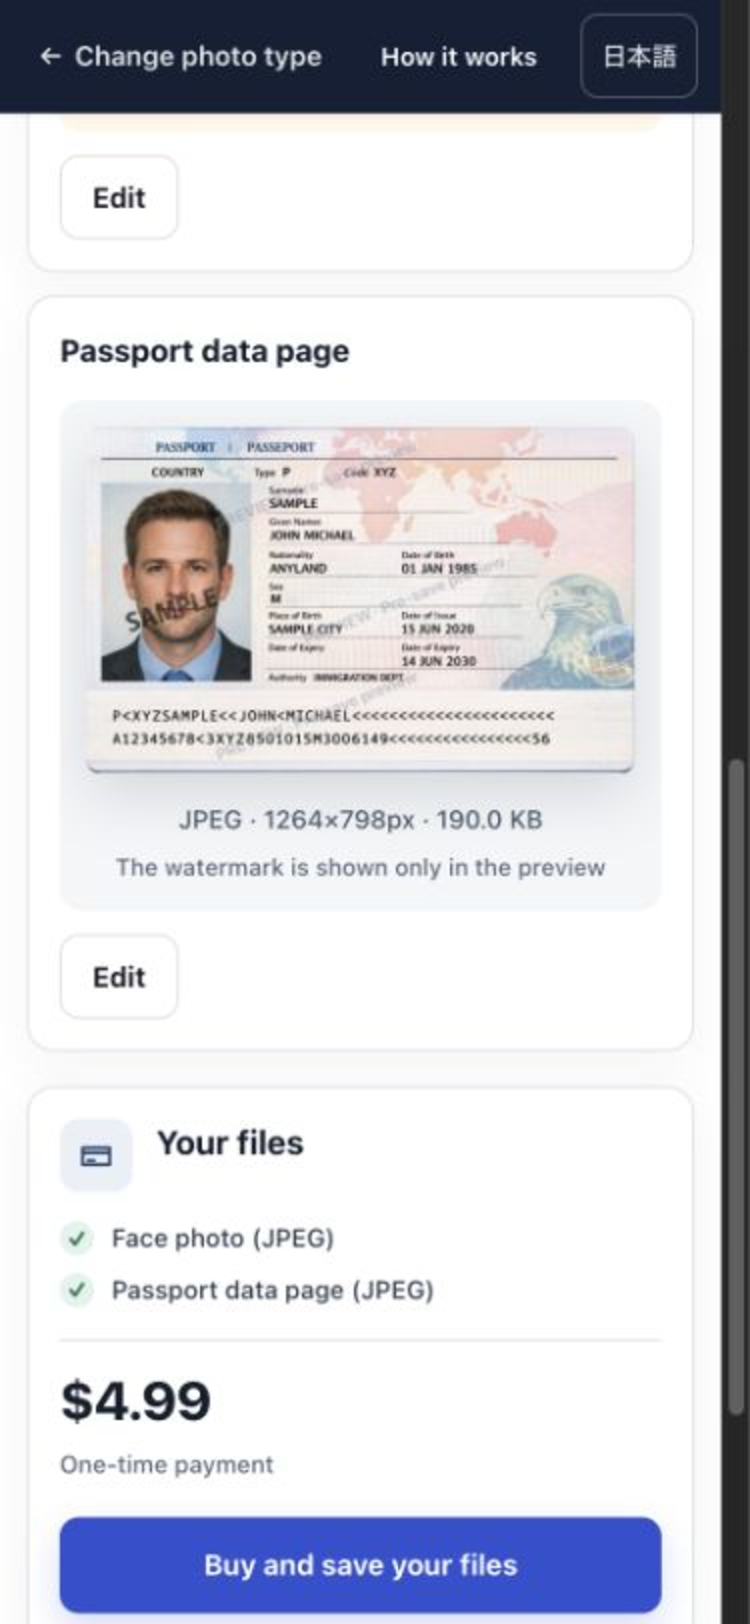
Review the price before saving 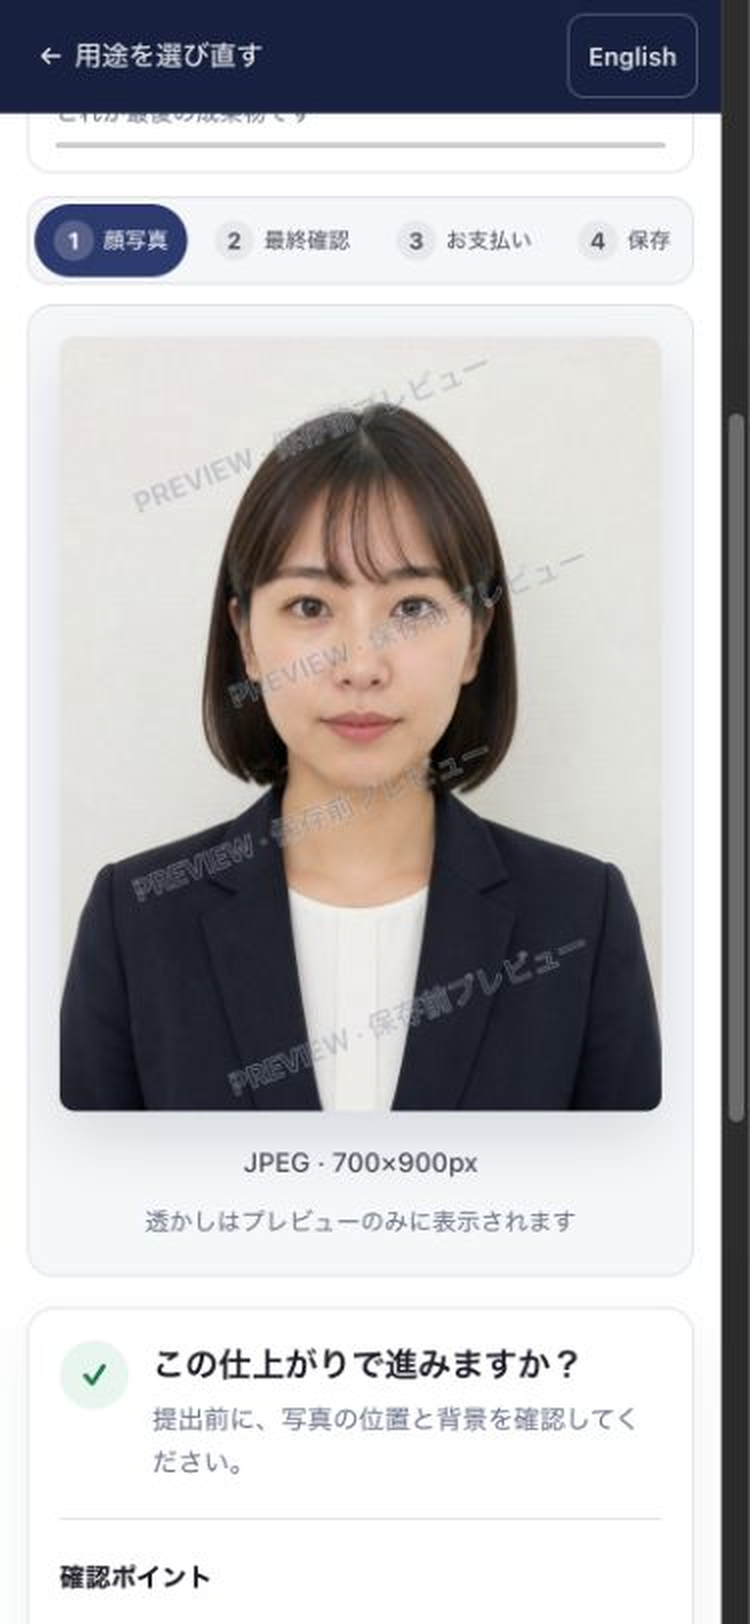
Review the print layout
What to know before you start
-
When payment happens
Choosing, adjusting, and reviewing are free. The price appears when you save; it is a one-time purchase, not a subscription.
-
How your photo is handled
Photo processing happens on your device, and the photo is not uploaded. The image is not sent during checkout either.
-
Making changes
Before purchase, you can redo the photo or document.
Frequently asked questions
Can I use it on a phone?
Yes. On a phone, you can use the camera or choose a saved photo. On a computer, you can load a saved JPEG / PNG file.
Do I need to find the photo size myself?
No. After you choose a purpose, the tool shows the supported finished items and output sizes for that procedure.
Can I see the result before I pay?
Yes. You can review the result before purchase and return to adjust the photo or additional document before saving.
What files can I save?
It depends on the purpose. The available finished items may include a face-photo JPEG, an additional-document PDF, or a print-ready JPEG. The review screen lists what will be saved.
Where is my photo sent?
Photo processing happens on your device, and the photo is not uploaded to a server. The image is not sent during checkout either.
What should I do if loading or processing fails?
Try a bright JPEG / PNG photo, reload the page, and try again. If the problem continues, contact support and describe what happened.
Start by choosing the purpose
You can begin with the procedure name even if you do not know which file you need.
Open the Web Tool