The basics of taking a clean ID photo
Whether it is a visa, passport, qualification exam, or residence card, the basics of taking a clean photo are largely the same. This guide covers only the universal shooting fundamentals — camera distance, room lighting, and background setup. Size, pixel, and background-color requirements vary by application, so confirm them in the official instructions for your specific process.
Keep a proper distance between the camera and your face
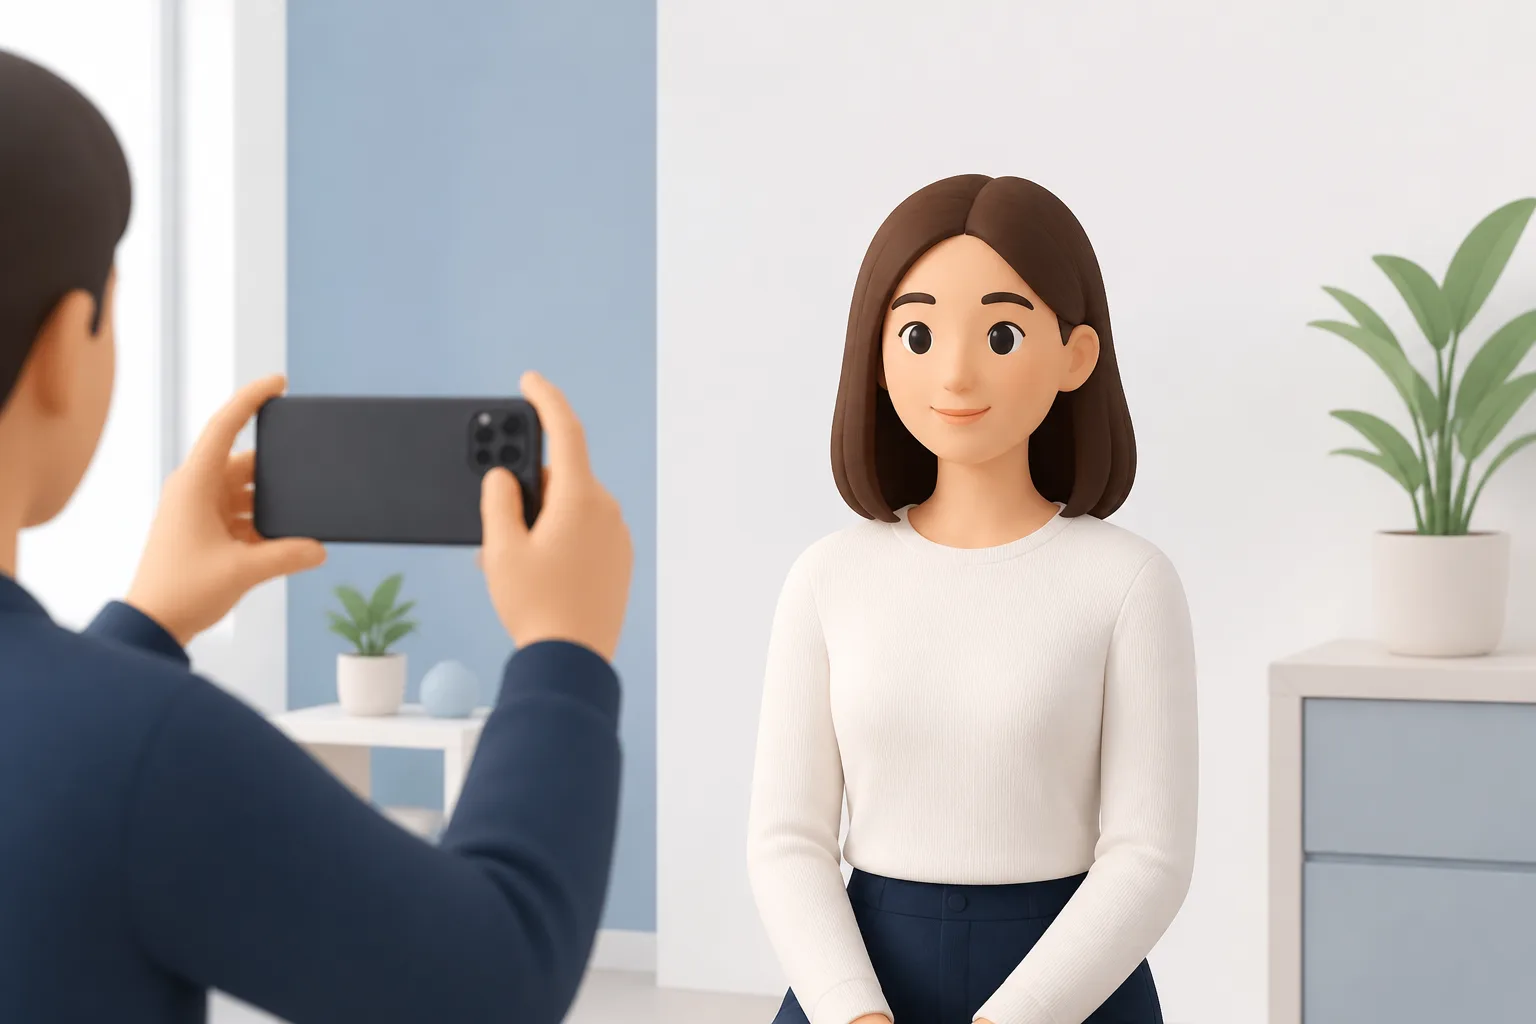
Holding the phone at arm's length very close to your face can distort your nose and facial outline due to perspective. The key is to keep some distance from the camera.
Frame the shot with comfortable space above your head and around your shoulders. If shooting yourself, ask someone else, or use a tripod and timer to keep the right distance.
Hold the lens at eye level. Shoot straight on rather than from above or below.
Set up even room lighting
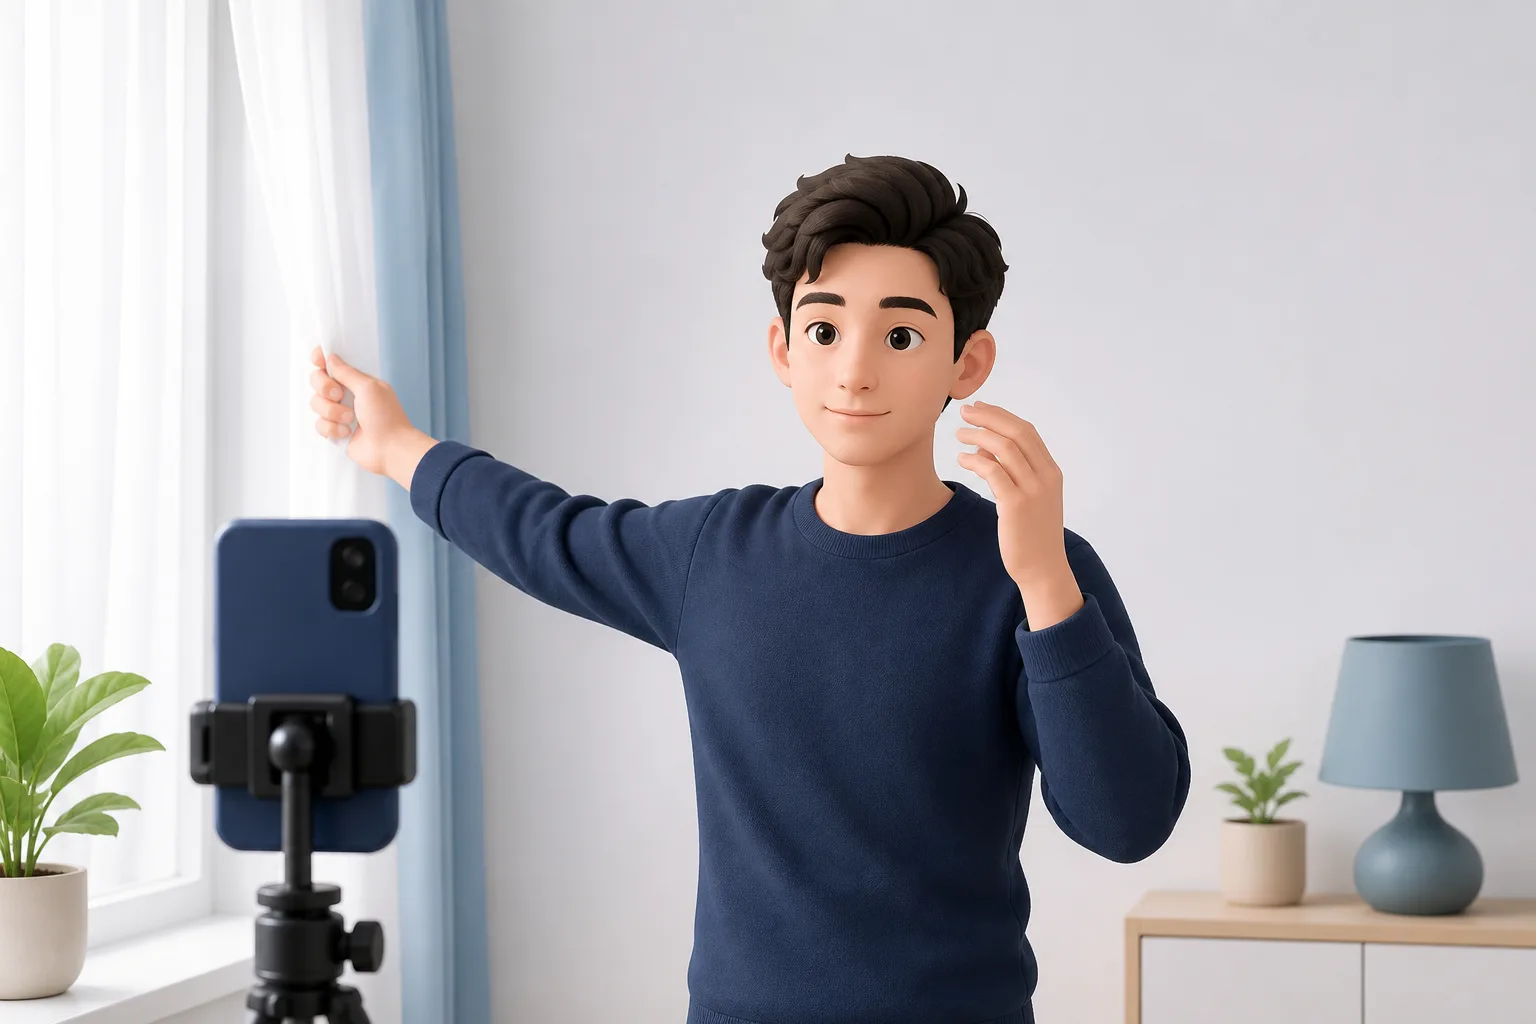
If light hits only one side of your face, one side becomes too bright or casts a shadow. Arrange windows and lights so the light falls evenly on both sides of your face.
Overhead lighting directly above can create shadows under the eyes and chin. Aim for soft light coming from in front of you or slightly to the side.
Backlighting (with a window behind you) or direct sunlight can make your face too dark. Change the camera direction, or diffuse the light with sheer curtains.
Set up a clean background
Standing a comfortable distance from the wall prevents your shadow from falling on the background and reduces uneven brightness. Standing too close makes shadows more noticeable.
Adjust your position and the camera angle so that clothes, furniture, or other people do not appear in the background.
Keeping the background evenly lit means less need for image editing later, so the photo looks natural.
The required background color and conditions differ by application. Check the specified background color in the official instructions for your process. This article only covers how to make the specified background look clean at the moment of capture.
How to shoot without strong shadows
Shadows depend mainly on how light falls and how close you are to the wall. Light from a single direction, or directly overhead, tends to cast shadows on one side of the face and under the eyes, chin, or neck. First check that neither side of the face is much darker than the other.
Standing right against the wall casts a sharp shadow of yourself onto the background. Stepping a little away softens the shadow and reduces it on the background (for preparing the background itself, see #background-setup).
Keep the light soft and coming from the front, or from a direction with little left-right difference. Direct sunlight or flash creates hard shadows, so diffuse the light with sheer curtains or change your position (for overall room lighting, see #room-lighting).
Before shooting, check the preview for strong shadows on the face, beside the nose, around the neck, and on the background. If shadows are noticeable, adjust the light source, your direction, or the distance from the wall and reshoot.
Selfie vs. assisted shooting — choosing a stable method
For an ID photo, keeping the camera's distance, height, and angle steady makes the result more stable. An arm's-length selfie tends to shift as your hand moves, so distance and angle are harder to keep consistent (for shooting distance, see #camera-distance).
Bringing the camera too close to the face can look unnatural, so keeping some distance is the basic rule. When shooting alone, fixing the phone on a tripod or stand and using a timer helps keep the distance and height steady.
When someone else can hold the camera, they can adjust the position while shooting, making it easier to align the front, level, and correct distance. Ask them to hold the camera at face height, straight on.
Note that the front (selfie) camera often mirrors the image and is easy to hold too close. Always review the result after shooting; if the tilt, shadows, and face position look fine, it is usable as-is (for shadows, see #shadow-avoidance).
FAQ
- Can I take a clean photo by myself?
- A tripod, a timer, or asking someone else makes it easier to keep the right distance and angle, but you can shoot by yourself if you follow the basics: keep your distance and hold the camera at eye level.
- Does this guide apply to every application?
- The shooting fundamentals (distance, lighting, background setup) are common across most applications. However, requirements such as size, background color, and pixels differ by process, so confirm them in the official instructions for your application.
- Does this apply outdoors or at a photo studio?
- This guide assumes self-shooting at home or similar. If you use a photo studio or an ID photo booth, follow their instructions.
Take your ID photo with the app
The app helps you shoot following the basics of distance, lighting, and background. Confirm the requirements for your specific application.
Take a photo with the app